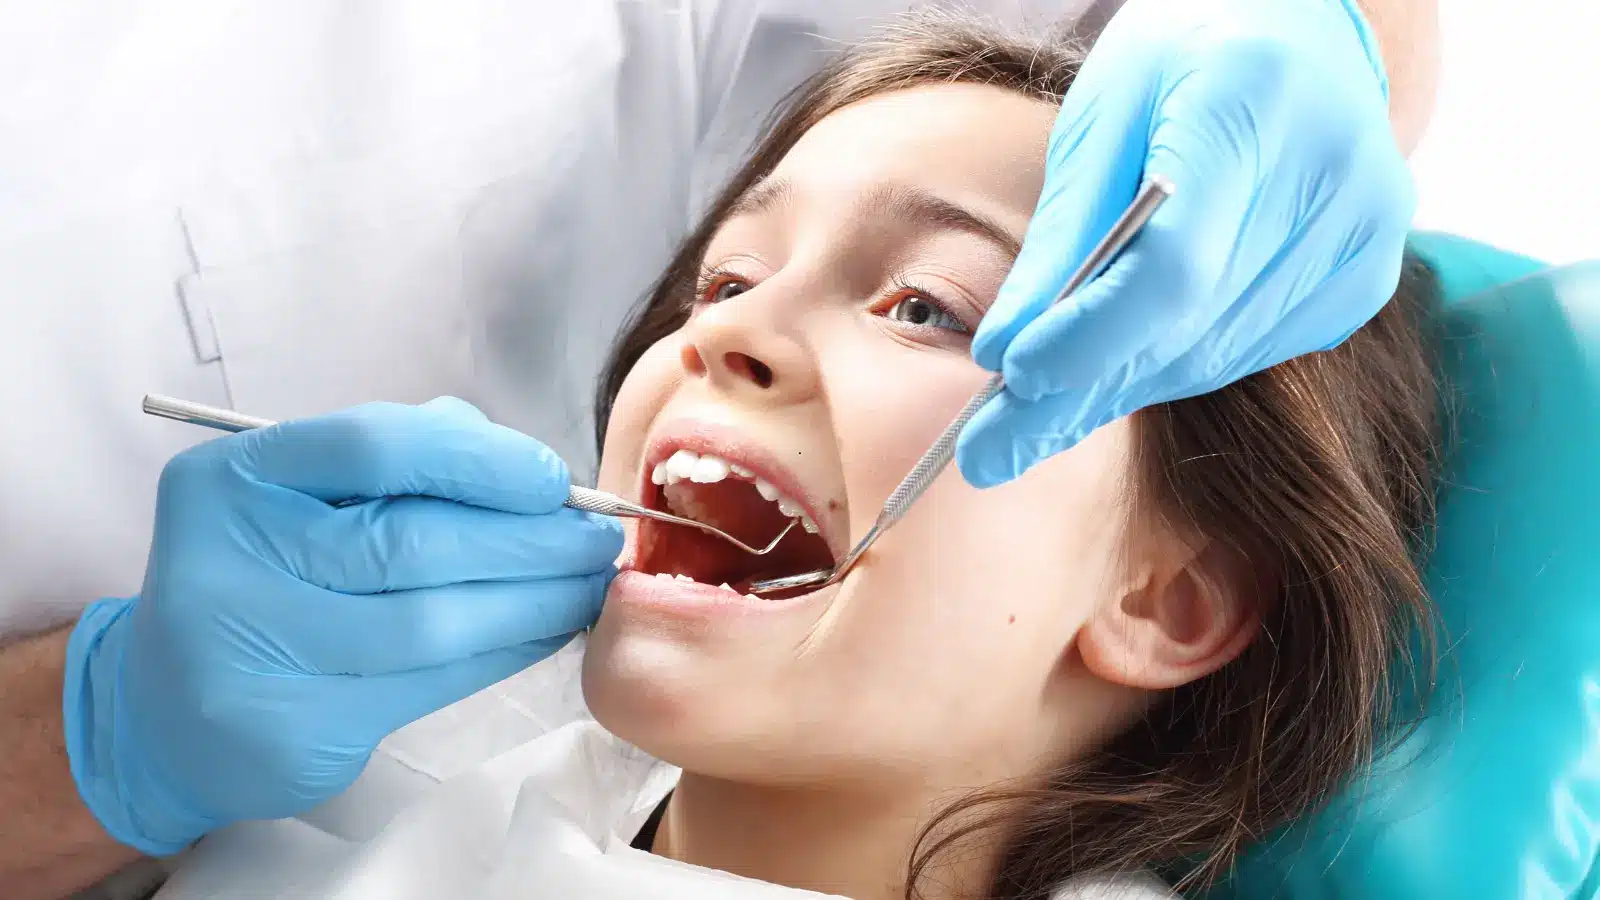
Regarding safeguarding your child’s dental health, the debate often revolves around two primary measures for kids cavity prevention: dental sealants and fluoride treatments. Both are proven to be effective, but knowing the variations, advantages, and possible disadvantages of each can help you make an informed decision.
Dental sealants, which effectively guard teeth, dentists have been using this as a protective technique in dentistry since the 1960s. In school-age children, the deep pits and crevices of the teeth are where nine out of ten cavities occur, according to the American Academy of Pediatric Dentistry (AAPD).
In this ultimate showdown of Kids Cavity Prevention, we’ll break down what sealants and fluoride do, how they work, and which might be best for your child.
Dental sealants: What Are They?
Dental sealants are thin protective coatings that are placed on the back teeth’s chewing surfaces where cavities most commonly develop. Sealants are recommended by the American Academy of Pediatric Dentistry (AAPD) for use on non-molar baby and permanent teeth despite the fact that they have historically only been applied to the permanent molars at the rear of the mouth.
These molars and premolars have deep grooves and fissures that are difficult to clean thoroughly with regular brushing. In order to keep food particles and germs out of these grooves, sealants create a physical barrier, thereby reducing the risk of cavities.
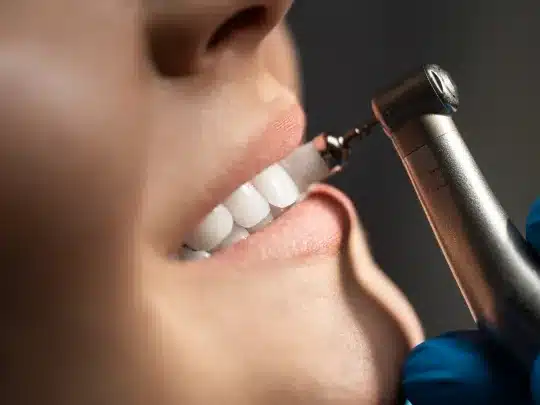
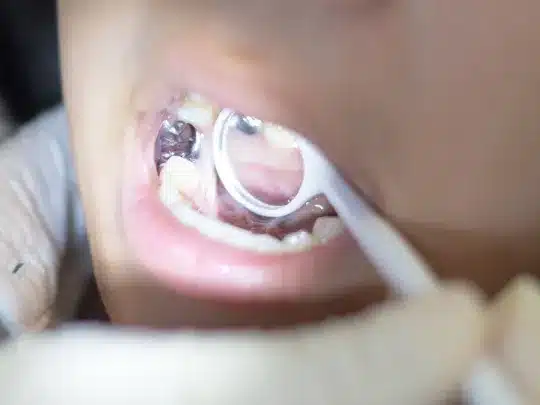
How Are Sealants for Teeth Applied? Step by Step Process
Step 1:
The dentist or dental hygienist begins by giving the teeth that will be sealed, a thorough cleaning. This step is crucial because it ensures that the tooth surface is free of any plaque, food particles, or bacteria that could interfere with the sealant’s adhesion. A small brush or a rotating instrument may be used to clean the grooves and pits of the molars and premolars.
Step 2:
After the teeth are cleaned, first, they need to be dried thoroughly. Then, the dentist will use an air blower or a cotton roll to keep the tooth dry. Finally, maintaining a dry surface is essential for the sealant to bond properly to the tooth. Cotton rolls or pads may be placed around the tooth to keep it dry and free from saliva during the application process.
Step 3:
Next, an acidic solution (usually a mild etching gel) is applied to the chewing surfaces of the teeth. This gel slightly roughens the enamel, creating a surface that allows the sealant to bond more effectively. The etching gel is left on the tooth for a short period, usually around 20 to 30 seconds.

Step 4:
The acidic gel is then rinsed off thoroughly with water, and the tooth is dried once more. Ensuring that the tooth is completely dry is critical for the next step.
Step 5:
Once the tooth is prepared, The sealant substance will be applied by the dentist to the grooves and pits of the tooth. The sealant is typically a liquid resin that flows easily into the deep crevices of the tooth. The dentist carefully spreads the sealant to cover the entire chewing surface of the tooth, making sure it fills all the pits and fissures.
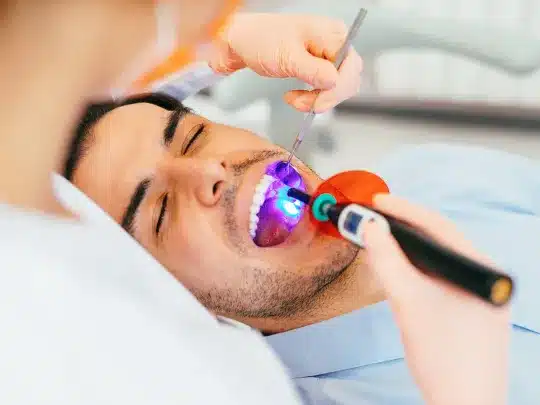
Step 6:
After the sealant is applied, it must then be hardened or cured. To achieve this, a special blue light called a curing light is used. The light is directed at the sealant for approximately 30 seconds, causing the liquid resin to harden into a protective shield.
Post-Application Care for Kids Cavity Prevention
After the sealant is applied, the child can resume normal eating and drinking immediately. Sealants provide long-lasting protection, but regular dental check-ups are important to monitor the condition of the sealant. If the sealant shows signs of wear or has chipped, the dentist can reapply it as needed.
Benefits of Dental Sealants
- Effective in Reducing Cavities: In molars, sealants can cut the risk of decay by about 80%.
- Long-lasting Protection: Once applied, sealants can last several years, providing long-term protection against cavities.
- Painless Application: The process of applying sealants is quick, non-invasive, and painless.
Drawbacks of Dental Sealants
- Cost: Sealants can be more expensive than fluoride treatments, especially if not covered by dental insurance.
- Limited Coverage: Sealants are typically only applied to the back teeth, leaving other areas of the mouth unprotected.
- Potential for Wear and Tear: Over time, sealants can wear down, especially if a child grinds their teeth or eats hard foods.
What Is Fluoride Treatment?
A naturally occurring mineral known as fluoride is well-known for its capacity to fortify enamel and fend off dental disease. Applying a concentrated fluoride solution to teeth in the form of a gel, foam, or varnish is known as a fluoride treatment. By remineralizing the enamel, fluoride strengthens its defenses against acidic mouth sweets and plaque microorganisms.
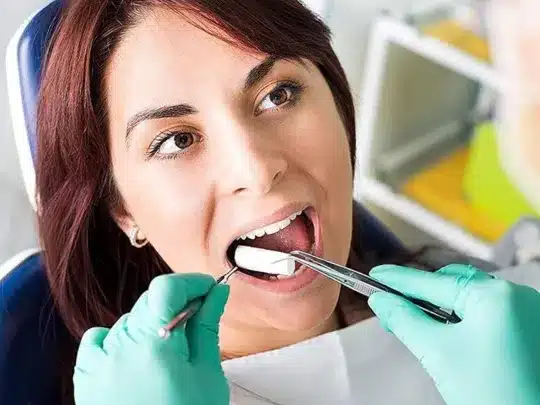
How Is Fluoride Put to Use? A Procedure in Steps
Step 1:
The dentist or dental hygienist will begin by cleaning your child’s teeth to ensure they are free of any plaque, tartar, or food particles. This cleaning is essential to maximize the effectiveness of the fluoride treatment.
Step 2:
Once the teeth are clean, they will be dried using a cotton roll or an air blower. A dry surface helps the fluoride adhere better to the enamel.
Step 3:
Fluoride treatments are available in various forms, including gels, foams, and varnishes. The dentist will choose the most appropriate form based on your child’s age, dental health, and specific needs.
Step 4:
The selected fluoride is then prepared. Dentist may fill a custom-fit tray with fluoride gel or foam and prepare it for application. For varnishes, the fluoride comes in a thicker consistency and dentists apply with a small brush.
Step 5:
If the dentist uses a tray (common with gels and foams), will place it in your child’s mouth and make sure it fits snugly over the teeth. They will then ask your child to bite down gently to keep the tray in place.
Step 6:
The dentist applies fluoride gel or foam to a tray and leaves it in your mouth for 1 to 4 minutes. Your teeth absorb the fluoride during this time. Please do not let your child swallow anything during this time.
Step 7:
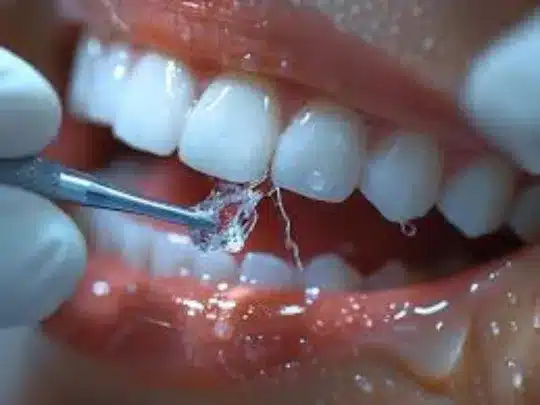
If a varnish is used, the dentist will paint the fluoride directly onto the teeth using a small brush. Varnish treatments are quick and require only a thin layer on the tooth surfaces.
Step 8:
Once the fluoride treatment time is complete, the tray (if used) is removed from the mouth. The dentist will ask your child to spit out any excess fluoride. For varnish, no removal is necessary as it hardens quickly and adheres to the teeth.
Step 9:
The dentist will provide instructions, typically advising your child not to eat, drink, or rinse for at least 30 minutes to an hour after the treatment. This allows the fluoride to remain on the teeth longer and enhances its effectiveness.
Post-Treatment Care
After the fluoride treatment, your child can resume normal activities following the dentist’s guidelines. Fluoride continues to protect the teeth by strengthening the enamel and making it more resistant to decay. Moreover, regular fluoride treatments, in conjunction with good oral hygiene practices, play a key role in maintaining your child’s dental health.
Benefits of Fluoride Treatment for Kids Cavity Prevention
- Widespread Protection: Fluoride benefits all teeth, not just the molars and premolars.
- Prevents and Repairs: Fluoride not only prevents cavities but can also help reverse early signs of tooth decay.
- Cost-effective: Dental insurance often covers fluoride treatments, which are typically cheaper than sealants.
Drawbacks of Fluoride Treatment
- Requires Repeated Application: Regularly, every six months, you need to reapply fluoride treatments for ongoing protection.
- Potential for Overexposure: Excessive fluoride exposure may result in dental fluorosis, a disorder that discolors teeth and spots on the teeth.
- Less Effective on Deep Grooves: Fluoride may not be as effective in protecting the deep grooves of molars as sealants are.
Sealants vs. Fluoride: The Head-to-Head Comparison
Now that we’ve covered the basics, let’s compare these two cavity-prevention methods head-to-head in different categories:
1. Effectiveness in Kids Cavity Prevention
- Sealants: Highly effective in preventing cavities on the chewing surfaces of the back teeth. They can cut the chance of molar decay by about 80%.
- Fluoride: Effective in preventing cavities across all teeth and can even repair early decay. It strengthens enamel, making it more resistant to acid attacks.
Winner: Both are effective in different ways. Sealants are superior for protecting specific areas (back teeth), while fluoride provides overall protection and repair.
2. Longevity of Protection
- Sealants: Can last several years with proper care but may need reapplication if they wear down.
- Fluoride: Requires regular application every six months for ongoing protection.
Winner: Sealants offer longer-lasting protection per application, but fluoride provides continuous benefits with regular treatments.
3. Cost-Effectiveness
- Sealants: Higher upfront cost but longer-lasting.
- Fluoride: Generally less expensive per treatment and often covered by insurance.
Winner: Fluoride is more cost-effective in the short term, especially for families on a budget.
4. Ease of Application
- Sealants: Quick, painless, and non-invasive but require a dental visit.
- Fluoride: Also quick and painless, with the advantage of benefiting the entire mouth in one treatment.
Winner: Both are easy to apply, but fluoride may be slightly more convenient as it benefits all teeth at once.
5. Risk of Side Effects
- Sealants: Minimal risk, though some people may experience minor discomfort if the sealant wears off.
- Fluoride: Generally safe but requires careful monitoring to avoid overexposure.
Winner: Both are safe, but fluoride requires more caution regarding dosage.
Which One Should You Choose for Your Kids Cavity Prevention?
Choosing between sealants and fluoride for Kids Cavity Prevention ultimately depends on your child’s specific needs, dental health, and lifestyle. Here are some factors to consider:
- Age and Cavity Risk: Younger children with newly erupted molars may benefit more from sealants, while older children and teens might need the overall protection fluoride provides.
- Budget: Fluoride treatments often covered by insurance and can be a more affordable option if cost is a concern.
- Dental History: Children with a history of cavities in their molars may benefit more from the targeted protection of sealants.
- Dental Habits: Kids who struggle with thorough brushing, especially in the back teeth, may need the extra help that sealants offer.
Combining Forces: The Best of Both Worlds for Kids Cavity Prevention
In many cases, dentists recommend combining both sealants and fluoride treatments for maximum protection. This approach allows your child to benefit from the targeted protection of sealants on the back teeth and the overall strengthening effects of fluoride on all teeth.
By adopting appropriate oral hygiene practices at home, and scheduling routine dental examinations, as well as receiving appropriate follow-up treatment, school-aged children can significantly lower their chance of developing the most common cavities by 80–90%.
When it comes to kids cavity prevention, both dental sealants and fluoride treatments have their merits. Sealants offer long-lasting, targeted protection for the back teeth, while fluoride provides a broader, ongoing defense for the entire mouth.
The best approach may be to not only combine both methods but also ensure your child receives the most comprehensive cavity protection possible. Ultimately, the choice depends on your child’s unique dental needs and your family’s budget, but rest assured, both options are excellent tools in the fight against tooth decay.

